Table of Contents
Hiking Half Dome Tips
The hike up to Yosemite’s iconic Half Dome is truly a journey of epic proportions. It requires physical stamina, strength, courage, and plenty of determination. If you are someone who loves the wonders of Mother Nature, you will find the effort completely worth it! The sore muscles and blisters are a small price to pay for this hike, for you will be rewarded with views of waterfalls, majestic peaks, granite domes, forests, and breathtaking panoramas. Read below for our best hiking half dome tips and suggestions.
While not many people think it’s a good idea to bring kids on the hike to Half Dome, we decided to defy the norms, and took our two daughters along when they were 8 and 10 years old. Our kids ended up doing extremely well despite the fact they had to climb 4,800 feet each way, and hike for 15 hours. We did have to do a lot of pep talking and mental preparation, though, in order for them to accomplish this as well as they did.
Whether you are bringing kids or not, here are some tips that can make your Half Dome hike less exhausting and more enjoyable. We overlooked some of these items, but now armed with new knowledge, we would plan our next hike to Half Dome a little differently.
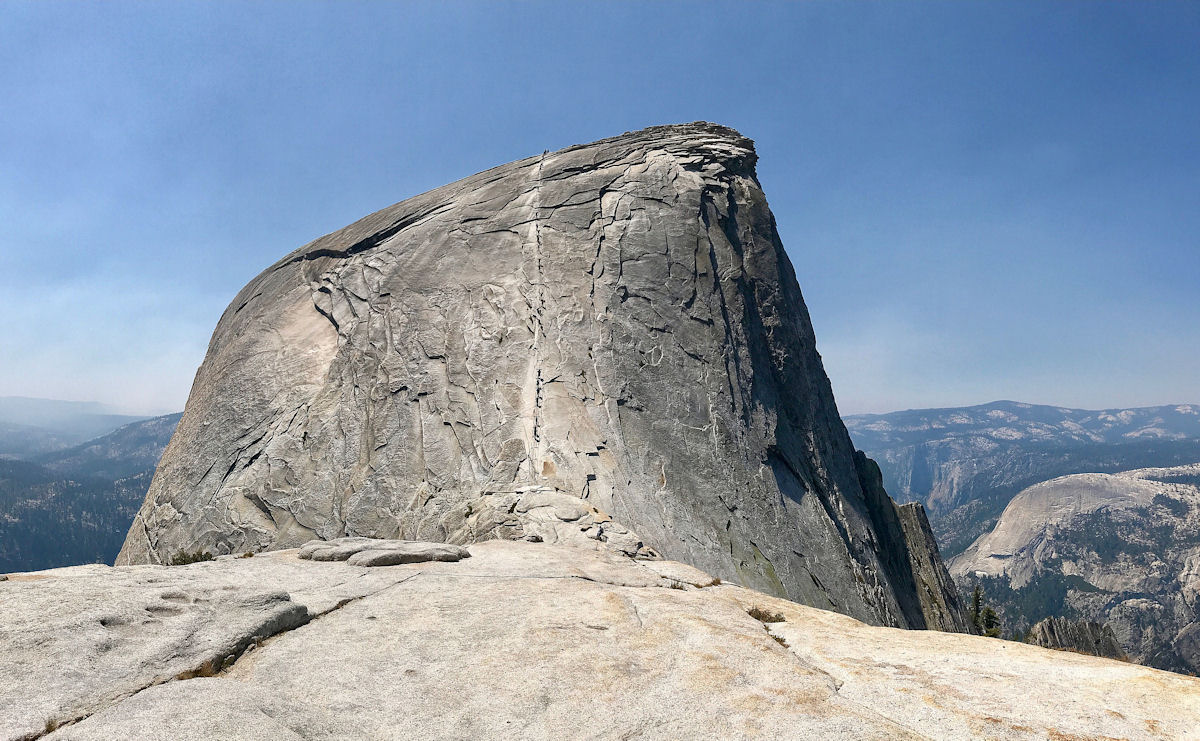
The cables on Half Dome from the top of the subdome
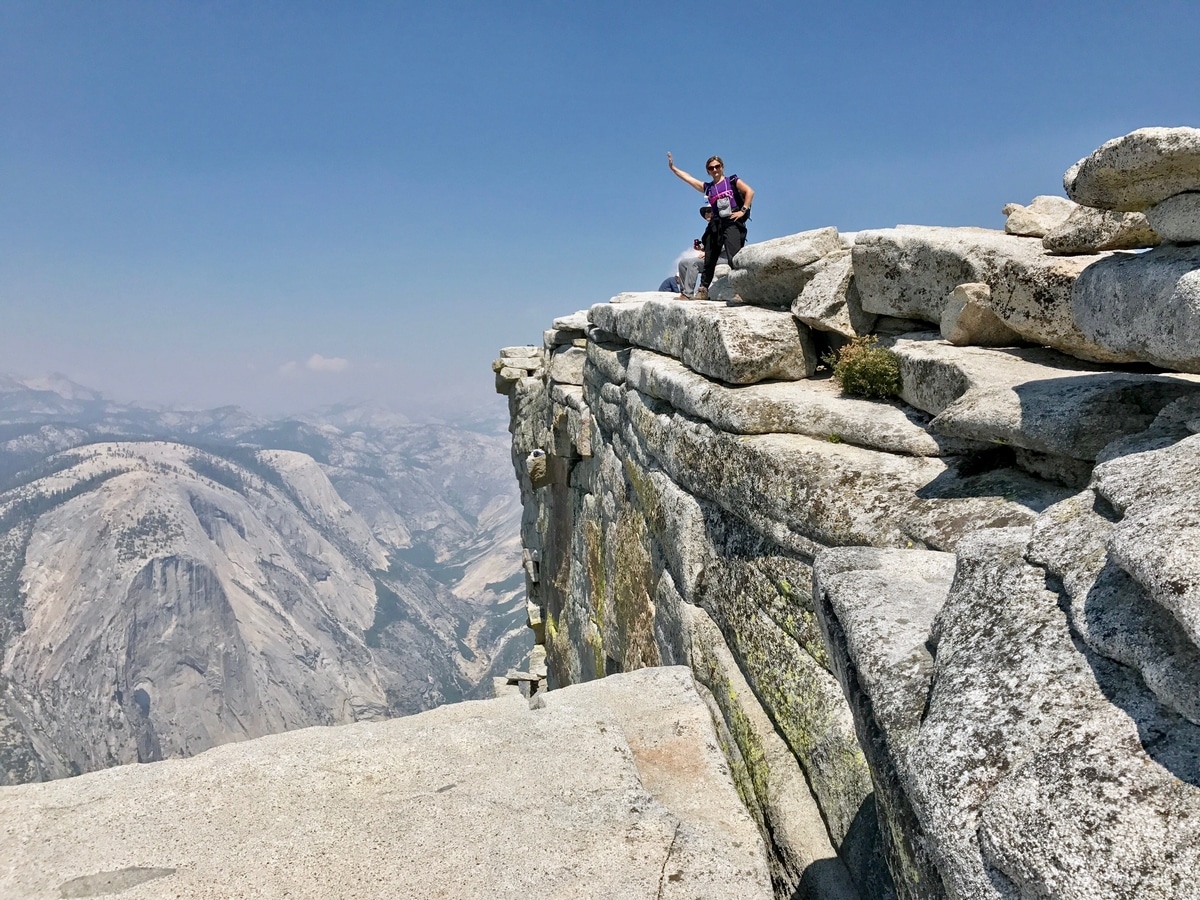
Waving hello from the edge of Half Dome’s granite hood
To Camp or Not to Camp
There are basically two options for hiking up to Half Dome if you are planning on starting from Happy Isles in Yosemite Valley.
- You can do it all in one day, which means walking 16 plus miles, and climbing up 4,800 feet and then back down.
- Break up the hike in two days, and camp overnight at Little Yosemite Valley, which is approximately half way. Choosing this option will give you more time to relax and take in the beauty of this truly amazing place.
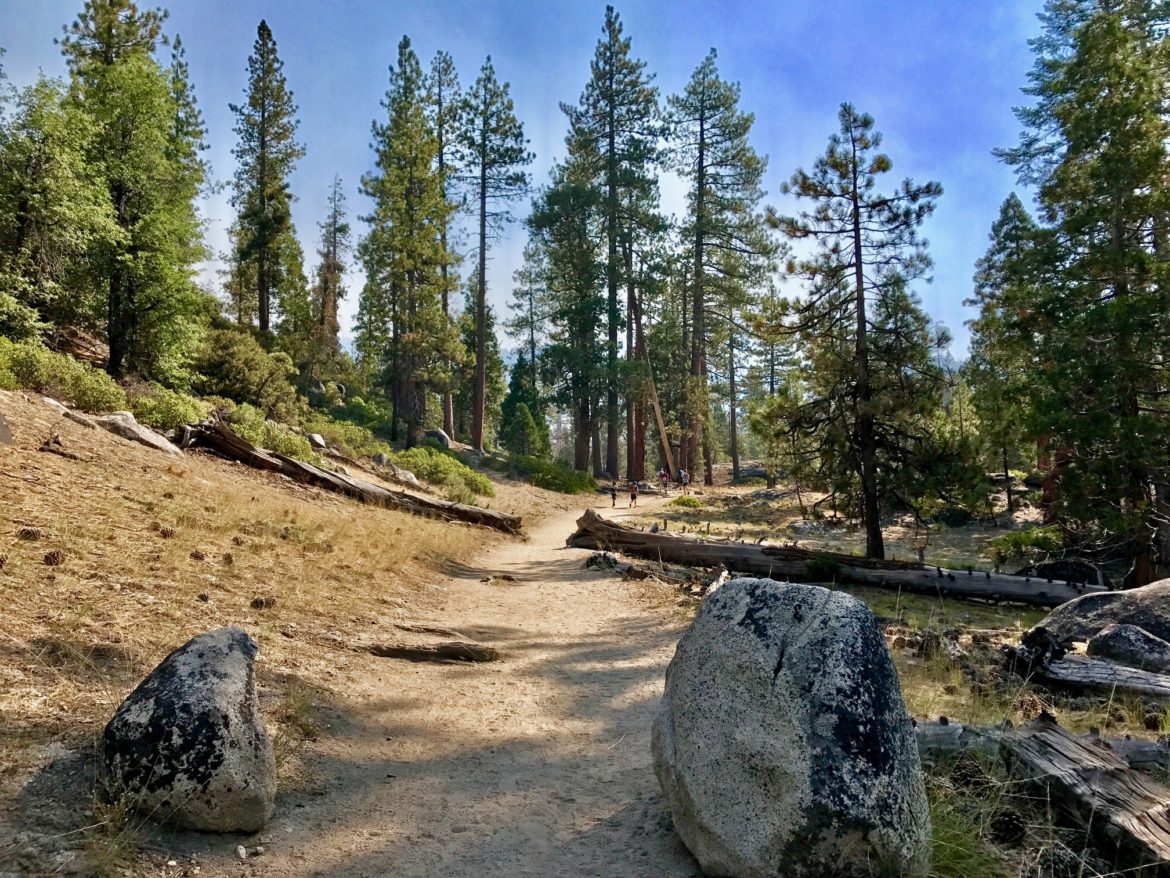
Hiking through Little Yosemite Valley
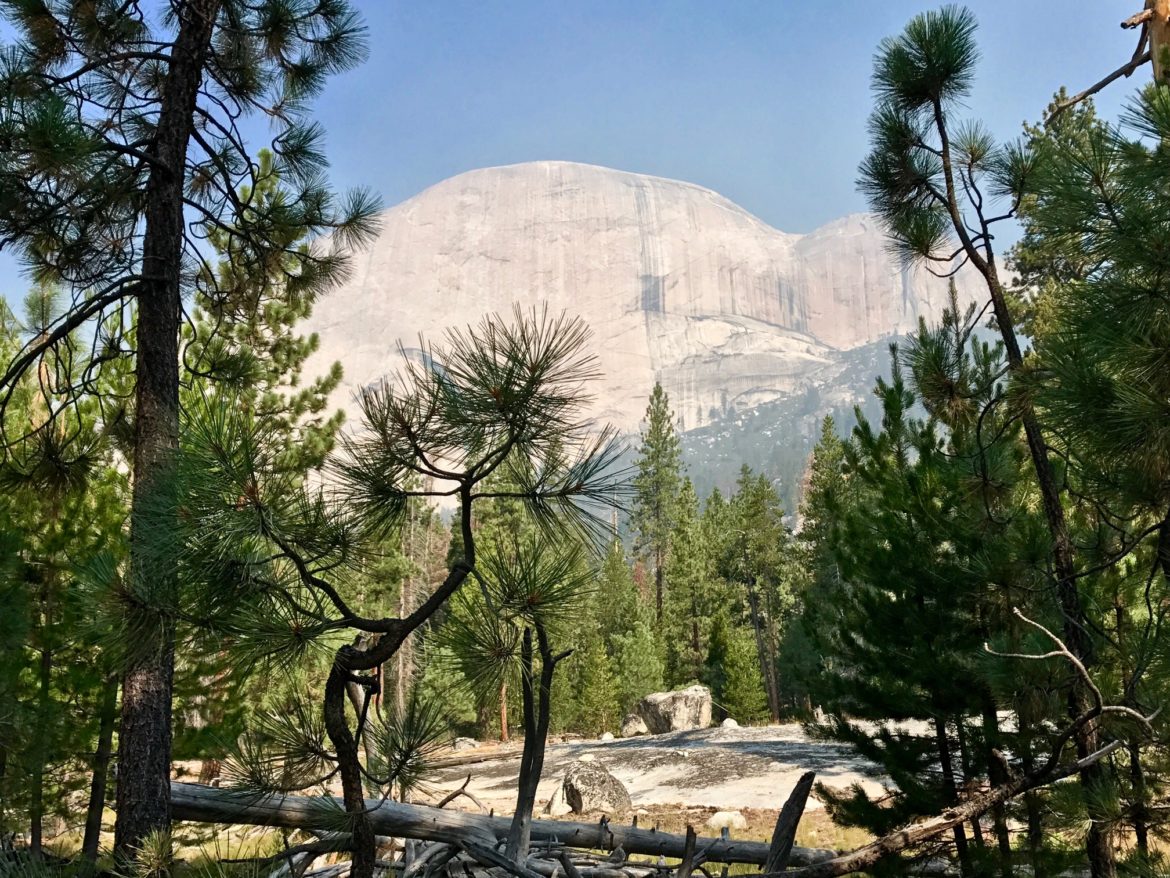
The back of Half Dome as seen from Little Yosemite Valley
Get Your Permits
Be sure you have your permits to hike to the top because park rangers will most likely check those at the base of Subdome.
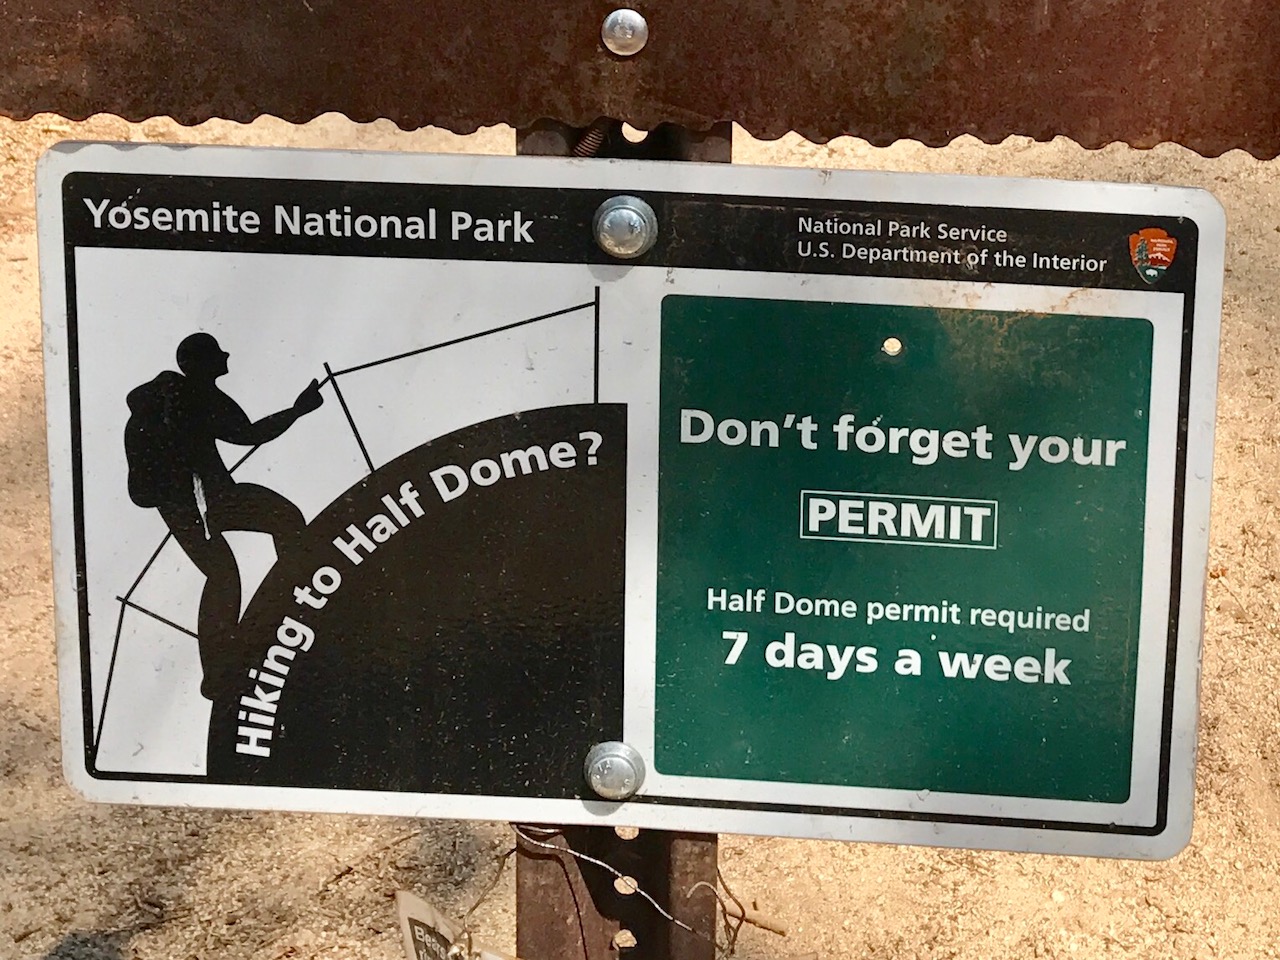
A sign that we spotted on the trail. Permits really are required, and checked 7 days a week.
Without valid permits you will not be allowed to continue beyond this point, and thus, you will miss some of the most exciting sights and features of the hike. If you are going up to Half Dome from Yosemite Valley and returning back the same day, you will need to enter the National Park Service lottery. Go to the Recreation.gov website, and you can find out when the next lottery will be held, and when you can apply. We applied in March, and got the good news in April that we got permits! We hiked in August.
NOTE: If you are bringing a tent and staying overnight in Little Yosemite Valley, you don’t need to enter the lottery. Instead, you will have to apply for a wilderness permit, and request Half Dome permits on the same application. Follow the instructions provided on the National Park Service Website.
What to Pack
Packing the right stuff is extremely important when planning such a long and strenuous hike. You have to anticipate what can possibly go wrong and be prepared for any adverse situations. You also need to have enough food and water to get you through a very long but exciting day of hiking. In the following short list, you will find the most important items to bring for a day hike up to Half Dome. If you decide to camp, be sure you plan also to have all the necessary camping gear.
Plenty of Water
If you are not bringing a water filter, be prepared to start your Half Dome hike with a heavy backpack as you will need to have a lot of water. Park rangers recommend a minimum of 1 gallon (4 liters) per person, and I can say this is absolutely necessary. On our hike to Half Dome, we brought about 3 liters per person, as well as a liter of Gatorade per person, and we still ran out of it all 3 miles before the finish line. Backpacks equipped with large water bladders work really well.
Giardia-Rated Water Filter
Pack a giardia-rated water filter to avoid carrying too much water. In case you are wondering, giardia is a tiny parasite that can really mess up your digestive tract and cause nausea, stomach cramps, and diarrhea. If you have such a filter, though, this parasite will not be a concern. Since the Merced river is nearby for much of the trail, you will have plenty of opportunities to filter, drink, and then pack enough water for the summit.
If you are camping in Little Yosemite Valley, bringing a giardia-rated water filter is a must, since the river is the only water source at the campground. This will save you the trouble of boiling your water or adding iodine, which are the other options you have in order to assure your water is safe for drinking.
Food and Snacks
Be sure to also pack some protein snacks, energy bars, sandwiches, and trail mix. We also had Gatorade and candy, which came in very handy with keeping our energy levels up.
Toilet Paper and Ziplock Bags
Some other important items to pack are toilet paper and Ziplock bags to collect trash. After all, you never know when you gotta go! It is very important that all of us make the effort to keep the park clean, and wildlife safe from human litter.
Gloves
Bring gloves with a good grip for the metal cables on Half Dome, as they are quite slippery. Gloves with a good grip will not only help you pull yourself up the cables more easily, but will also protect the palms of your hands from painful blisters. Many of the hikers up there will pass on used gloves when they come down from the cables, but those tend to be worn, smelly, and not a good fit for everyone. There is also no guarantee that you will get a pair from someone else.
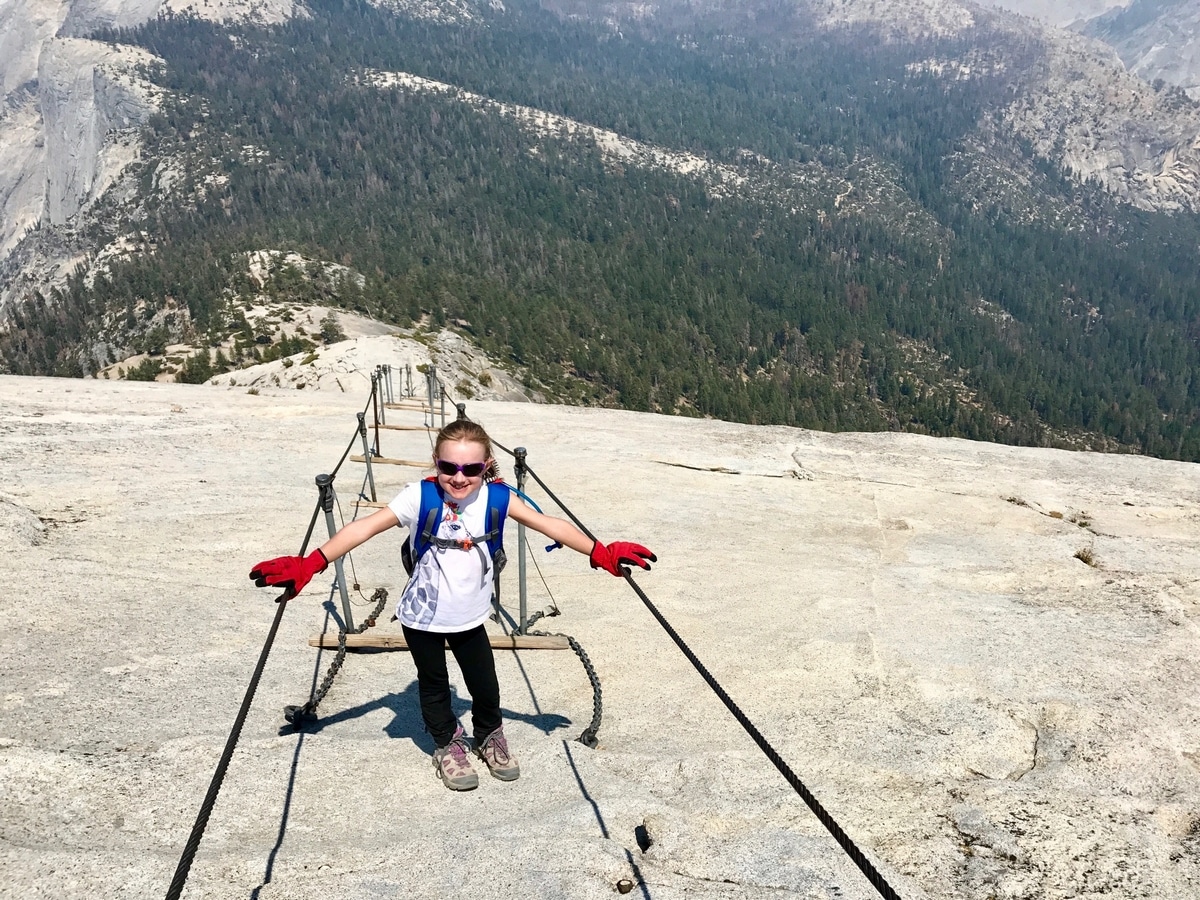
Dani posing at the top of the Half Dome cables with the enormous gloves a hiker gave us
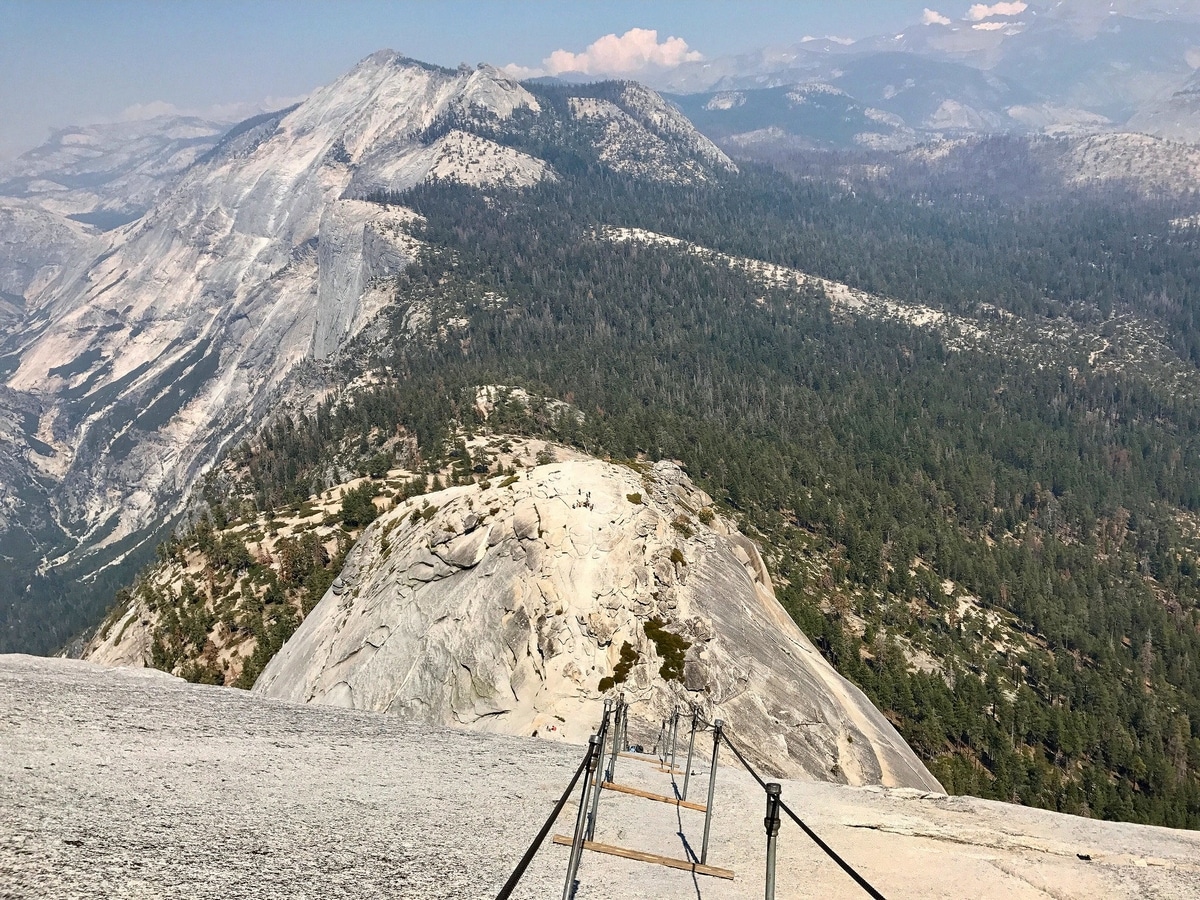
Looking down the cables from the top of Half Dome
Harnesses for Kids and Adults
Bring harnesses and ropes with carabiners to attach to the cables for extra safety. While some adults use those, they are particularly a good idea if you are bringing kids up the cables on Half Dome. Staying hooked onto the cables will provide another level of safety, in case someone slips or loses his or her grip.
Flashlights for Everyone
Pack flashlights for everyone in your group. Chances are you will either start or finish your hike in the dark, especially if you are not camping in Little Yosemite Valley. In our case, we ended up needing our flashlights in the beginning and at the end of the day. While most people take about 12 to 13 hours to complete the Half Dome hike, we ended up walking for 15 hours in all. Since we had our kids with us, we had to take more frequent and longer breaks.
First Aid Kit and Headache Pills
Bring a basic first aid kit, and perhaps some headache pills. It is not uncommon to experience symptoms like nausea and headache due to the change in altitude. Being prepared can make the difference between enjoying your hike and feeling sick and miserable. Of course, if your symptoms persist or get worse, it is best to turn back. Regardless of how far along the Half Dome hike you get, you are sure to see breathtaking panoramas.
Take it All In!
Finally, remember to look around as you hike, and take time to enjoy all the incredible sights along the way. You are hiking one of the greatest trails in the world, and the memories of this epic experience will surely stay with you for the rest of your life!
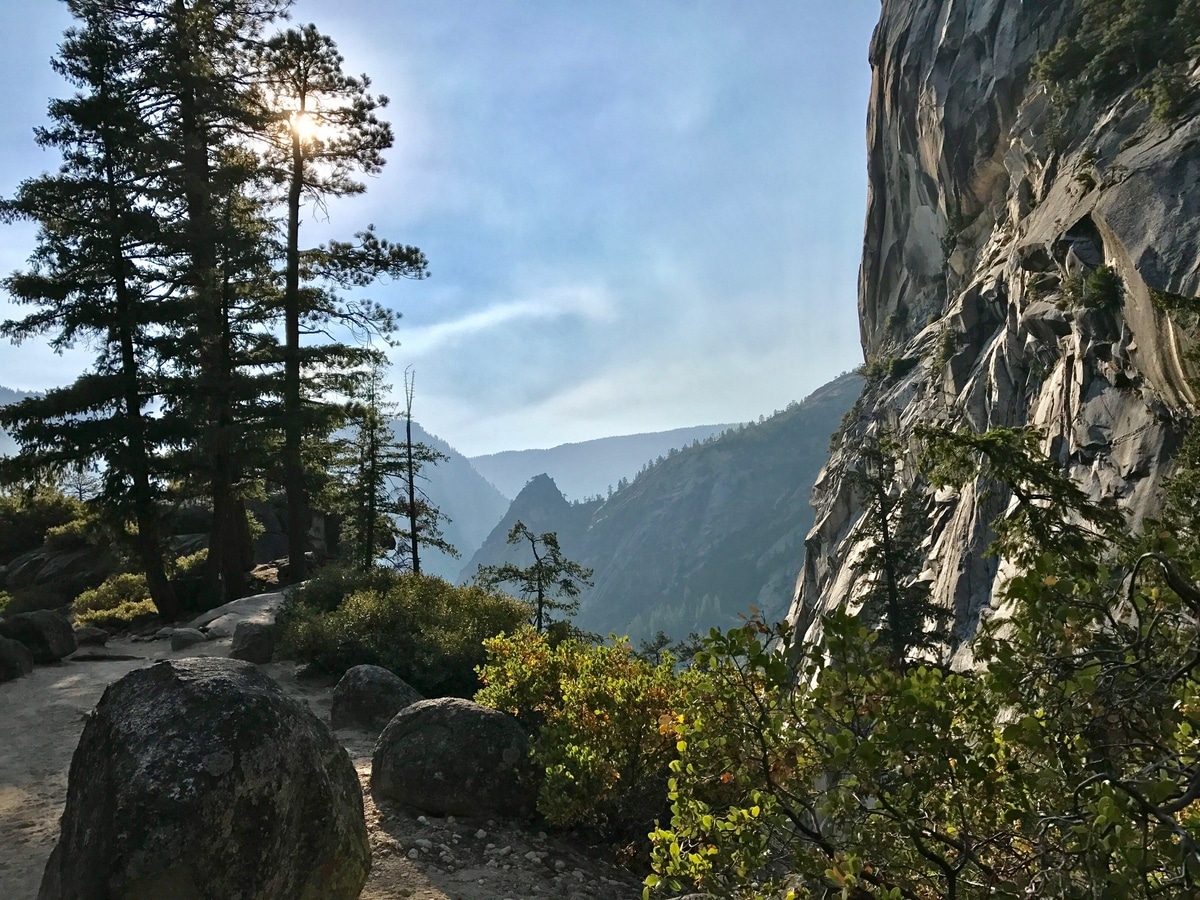
Beautiful views near sunset from the John Muir Trail
Summary of our Hike
Arrived in Yosemite Valley, Happy Isles parking lot at 5:35 am
The Hike Up
- Started on the Mist Trail at 6:00 am
- Reached the top of Vernal Fall at 7:10 am
- Continued on the Mist Trail
- Reached the top of Nevada Fall at 8:45 am
- Hiked to Little Yosemite Valley
- Continued up through the forest
- Arrived at base of Subdome at 1:45 pm
- Reached the top of Subdome and the cables on Half Dome at 2:20 pm
- Arrived on top of Half Dome at 2:45 pm
The Hike Down
- Followed the same route back to the top of Nevada Fall
- Continued on John Muir Trail
- Arrived at the Yosemite Valley shuttle bus stop at 8:45 pm
Total duration of our day hike to Half Dome: 15 HOURS
My Favorite Highlights
Don’t get me wrong! This entire trail is an epic journey full of unforgettable sights, but here are a few that really got imprinted in my mind forever.
- Mist Trail near Vernal Fall
- Subdome climb, and the views from Subdome
- Cables on Half Dome
- John Muir Trail at the top of Nevada Fall near Liberty Cap
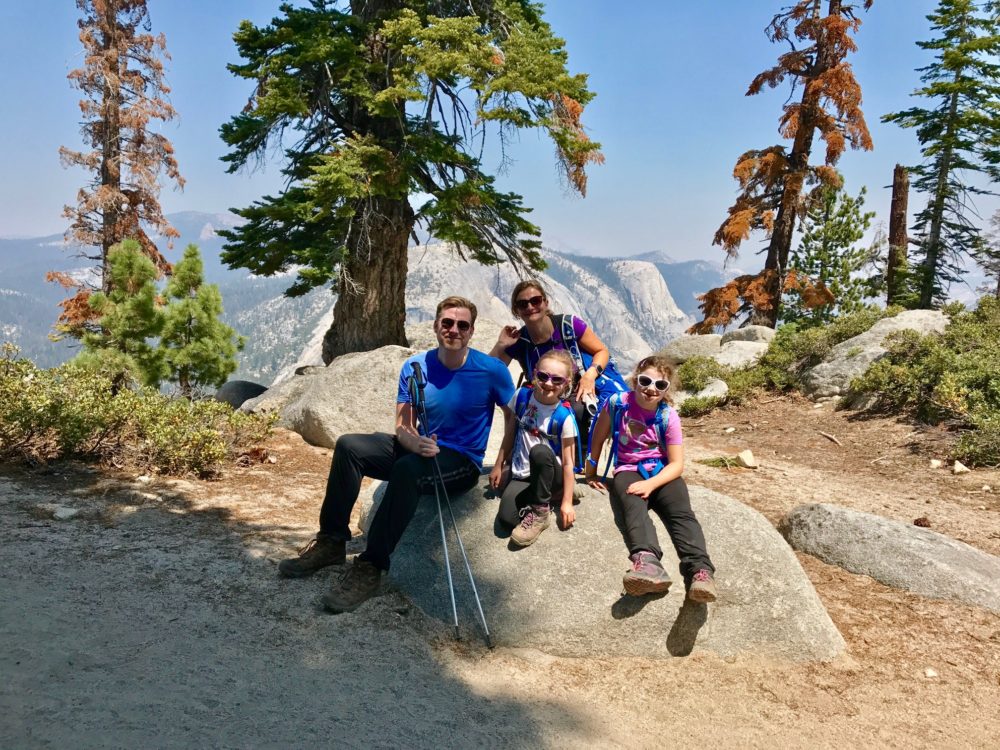
Family photo before the base of Subdome
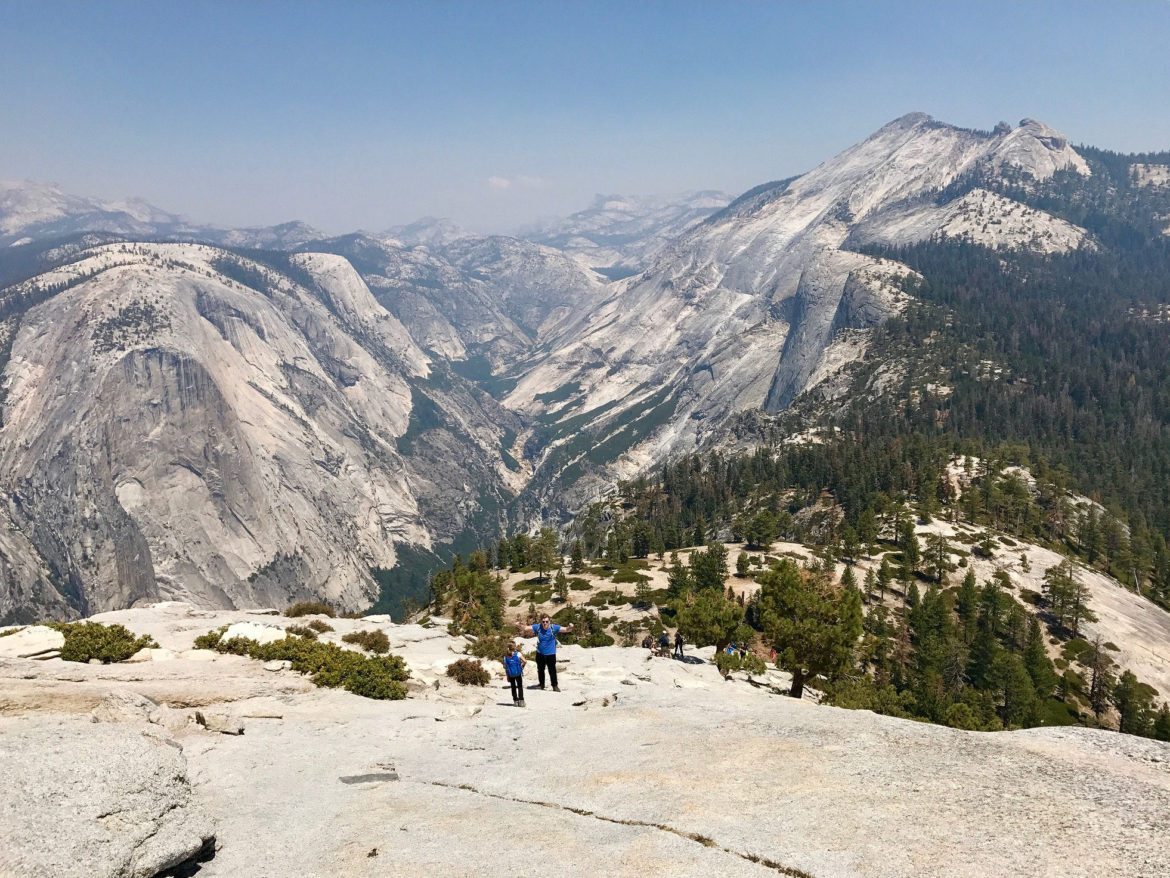
Hubby and Dani coming up the Subdome
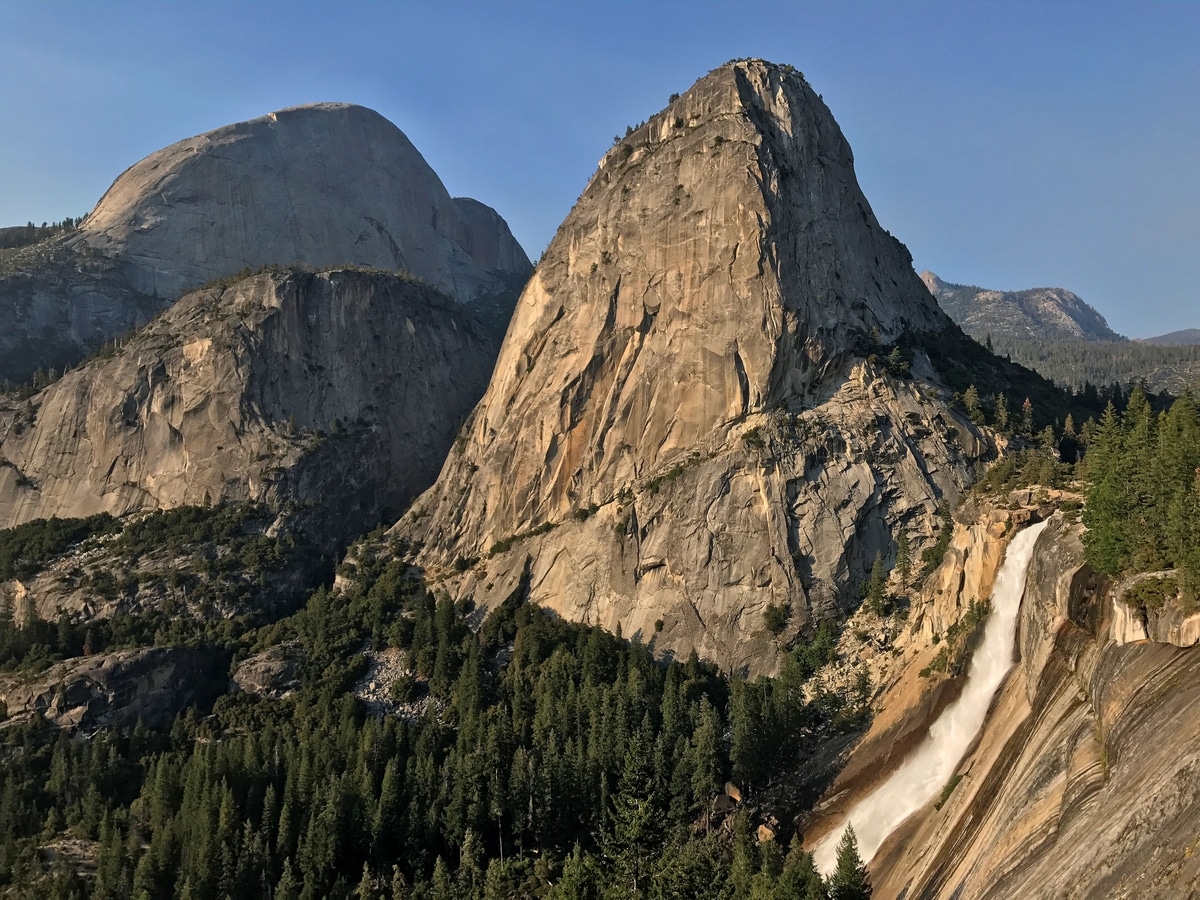
Half Dome from the back, Liberty Cap and Nevada Fall at sunset as seen from the John Muir trail
What We Would Have Done Differently
- Bring tents, and stay in Little Yosemite Valley for one night
- Pack gloves for the cables on Half Dome
- Pack harnesses and ropes for the kids to attach to the cables on Half Dome for extra safety
- Bring along a giardia-rated water filter
There you have it, our hiking Half Dome tips, gathered from our own experience. Please, feel free to leave us any questions and comments! You are more than welcome to suggest that we add any other useful hiking Half Dome tips!
PIN THIS POST! 🙂

Hiking Half Dome Tips Pin
